Unveiling the DIY Budget: How Much Does It Cost To Paint A Small Bedroom Myself In 2026? A Millennial’s Guide to Saving Big!
Hey there, budget-savvy home improvers! Are you dreaming of transforming your small bedroom with a fresh coat of paint without breaking the bank? You’re not alone. Many millennials are choosing to tackle home renovation projects themselves, and a DIY paint job is one of the most rewarding. But before you dive in, a crucial question likely crosses your mind: How Much Does It Cost To Paint A Small Bedroom Myself In 2026?
Understanding the actual expenses involved is key to a successful and stress-free project. While hiring a professional painter can quickly rack up costs, doing it yourself offers significant savings. We’re here to break down every potential expense, from paint supplies to essential tools, so you can confidently plan your bedroom painting project for 2026.
Why Go DIY for Your Small Bedroom Painting Project?
Source: angi.com
There’s a unique satisfaction that comes with transforming your space with your own two hands. Beyond the obvious financial benefits, a DIY painting project offers incredible flexibility. You get to choose the exact colors, finishes, and pace that suit your lifestyle.
For a small bedroom, the task feels less daunting and more achievable. It’s an ideal project for a beginner painter to gain valuable home improvement skills. Plus, you avoid the scheduling hassles and potential communication gaps that can sometimes arise with external contractors. It’s your vision, your execution, your savings.
Deconstructing Your DIY Paint Budget: Key Cost Categories
Calculating the true cost to paint your small bedroom yourself involves more than just buying a can of paint. You’ll need to consider several categories to get an accurate estimated expenses breakdown. These include preparation materials, paint itself, application tools, and safety gear. A detailed plan helps manage your overall paint budget effectively.
Ignoring any of these elements can lead to unexpected costs or a less-than-stellar finish. Let’s delve into each component to help you formulate a realistic financial plan for your 2026 bedroom painting project. Careful planning ensures you achieve that perfect modern look.
1. Preparation Materials: The Unsung Heroes of a Perfect Finish
Great painting starts with great preparation. Skipping these steps is a recipe for regret, potentially leading to peeling paint or an uneven surface. These items are often overlooked in a basic “paint cost” estimate, but they are absolutely essential.
Investing a little extra here saves you time and frustration down the line. Proper prep work ensures your new paint adheres beautifully and lasts for years. It’s the foundation of any successful home transformation.
- Cleaner (e.g., TSP Substitute): Walls accumulate dirt, dust, and grime. A good cleaning ensures optimal paint adhesion. Expect to spend $5-$15 for a cleaner.
- Painter’s Tape: Essential for crisp lines around trim, baseboards, and ceilings. Don’t skimp on quality here; cheap tape can tear or leave residue. Budget $10-$30 for good quality tape like FrogTape or 3M.
- Drop Cloths: Protect your floors, furniture, and any items you can’t move. Canvas cloths are reusable and durable, while plastic is cheaper for single use. Plan for $15-$40 depending on material and size.
- Spackle/Patching Compound: For filling nail holes and small dents in walls. A small tub goes a long way. This will likely cost $5-$10.
- Sandpaper: Fine-grit sandpaper (120-220 grit) helps smooth patched areas and lightly scuff glossy surfaces for better adhesion. A small pack costs $5-$10.
- Caulk: For sealing gaps around trim and windows. Creates a seamless look. A tube costs around $5-$8.
2. The Paint Itself: Your Color Canvas
This is where your vision truly comes to life! The type of paint you choose impacts both the aesthetic and the durability of your walls. Factors like finish, quality, and brand all play a role in the ultimate gallons of paint needed and the price tag.
For a small bedroom, you’ll likely need less paint, making higher-quality options more accessible. Consider the room’s function and traffic when selecting your paint sheen. This is a key decision for your overall aesthetic upgrade.
- Primer: Especially crucial if you’re painting over a dark color, a glossy finish, or new drywall. Primer ensures better adhesion, truer color, and fewer coats of topcoat. Expect $20-$40 per gallon for a good quality primer (e.g., KILZ).
- Interior Paint: The star of the show! Paint prices vary significantly by brand (Sherwin-Williams, Benjamin Moore, Behr, Valspar) and quality. For a small bedroom (typically 10×10 to 12×12 feet), you might need 1-2 gallons for two coats, depending on wall condition and color change.
| Paint Quality Level | Price Per Gallon (Estimate) | Gallons Needed (10×10 room, 2 coats) | Total Paint Cost Estimate |
|---|---|---|---|
| Economy Grade (e.g., Glidden Essentials) | $25 – $35 | 1-2 | $25 – $70 |
| Mid-Range Quality (e.g., Behr Premium Plus, Valspar Signature) | $35 – $55 | 1-2 | $35 – $110 |
| Premium Grade (e.g., Sherwin-Williams Duration Home, Benjamin Moore Regal Select) | $55 – $80+ | 1-2 | $55 – $160+ |
Pro Tip: Always factor in two coats for optimal coverage and durability, especially if you’re making a significant color change. A paint calculator can help estimate precise amounts based on your room’s square footage.
3. Application Tools: Your Painting Arsenal
These are the tools that get the paint from the can onto your walls. Investing in decent quality tools makes the job easier, faster, and yields a much better finish. Cheap tools can shed bristles or leave streaks, ruining your hard work.
Consider these items a long-term investment if you plan on doing more DIY projects. They are crucial for an efficient and effective painting time. High-quality tools contribute significantly to a seamless finish.
- Paint Brushes: A good angled sash brush (2-inch or 2.5-inch) is essential for cutting in around trim, corners, and ceilings. Expect to pay $8-$20 per brush.
- Paint Rollers: You’ll need a roller frame and several roller covers (naps). Choose the nap thickness based on your wall texture (e.g., 3/8-inch for smooth walls). A frame costs $5-$15, and covers are about $5-$10 each. Plan for 2-3 covers.
- Paint Tray and Liners: A sturdy paint tray and disposable liners make cleanup much easier. Tray: $5-$10; Liners: $5-$10 for a pack.
- Extension Pole: A game-changer for ceilings and upper walls, saving your back and making the job quicker. $15-$30.
- Utility Knife: Handy for cutting tape and opening paint cans. $5-$10.
- Stir Sticks: Often free with paint purchase, but good to have extra.
4. Safety & Cleanup: Protecting Yourself and Your Space
Safety first, always! Painting involves chemicals and dust, so protecting yourself is paramount. Proper cleanup also ensures your space returns to normal quickly and efficiently. These items are a small price to pay for peace of mind.
Don’t overlook these crucial elements in your project planning. Good ventilation and protective gear are non-negotiable for a safe and comfortable experience. They contribute to a clean and healthy environment.
- Gloves: Protect your hands from paint and chemicals. A multi-pack costs $5-$10.
- Protective Eyewear: Essential to prevent paint splatters from reaching your eyes. $5-$15.
- Respirator/Dust Mask: Especially important if sanding or using paints with higher VOCs (Volatile Organic Compounds). $10-$25. Consider low VOC or eco-friendly paint options for better air quality.
- Rags/Old Towels: For spills and wiping. You probably have these already, but if not, $5-$10.
- Soap and Water: For cleaning brushes and tools (if using latex/acrylic paint).
The Total Estimated DIY Cost to Paint a Small Bedroom Myself in 2026
Let’s consolidate all those potential expenses to give you a clearer picture of your total cost. Remember, these are estimates, and your final spend will depend on your specific choices and any existing supplies you might already own. This breakdown helps you create a realistic paint budget for your space.
Our goal is to help you achieve a stunning aesthetic upgrade without any financial surprises. By understanding the cost breakdown, you can make informed decisions. This allows for effective saving money while achieving a high-quality finish.
| Category | Low-End Estimate | High-End Estimate | Notes |
|---|---|---|---|
| Preparation Materials (Tape, Drop Cloths, Spackle, Sandpaper, Cleaner, Caulk) | $40 | $90 | Quality matters for tape and drop cloths. |
| Primer (1 gallon) | $20 | $40 | Essential for adhesion and color consistency. |
| Interior Paint (1-2 gallons, Mid-Range) | $70 | $110 | Based on 2 coats, mid-range quality paint. |
| Application Tools (Brushes, Rollers, Tray, Pole) | $40 | $80 | Investing in good tools pays off. |
| Safety & Cleanup (Gloves, Eyewear, Mask, Rags) | $15 | $40 | Don’t skip safety! |
| Total Estimated DIY Cost | $185 | $360 | This is your potential range for painting a small bedroom yourself. |
This table provides a robust range for your DIY painting project. You can see that even with quality materials, it’s significantly less than the typical hiring cost of a professional, which can easily range from $500 to $1,500+ for a small room, largely due to labor costs.
Your DIY savings are substantial, making this an excellent value proposition. This is an incredible opportunity for a fresh look. The financial benefits of painting yourself are clear.
Factors Influencing Your Small Bedroom Painting Cost
While we’ve provided a comprehensive estimate, several variables can push your costs towards the higher or lower end of the spectrum. Understanding these helps you tailor your paint budget more precisely. Being aware of these elements allows for better project planning.
Each decision you make contributes to the overall financial outlay and the final outcome. Consider these points carefully as you embark on your bedroom refresh. They directly impact your estimated expenses.
1. Room Size and Wall Condition
Even for a “small bedroom,” dimensions can vary. A 12×12 foot room will require slightly more paint and prep than a 10×10. More importantly, the condition of your walls makes a huge difference. If you have numerous cracks, holes, or textured surfaces, you’ll need more spackle, sandpaper, and potentially more paint for adequate coverage. Extensive damage increases both material and preparation time.
2. Choice of Paint Quality and Brand
Premium paints from brands like Benjamin Moore or Sherwin-Williams offer superior coverage, durability, and a more luxurious finish. They might cost more upfront ($55-$80+ per gallon) but often require fewer coats and stand up better to wear and tear. Economy paints ($25-$35 per gallon) are cheaper but might need an extra coat or two, potentially negating some savings. Consider the long-term value of durable, washable paint.
3. Color Change Dramatics
Painting a light wall a similar light shade requires less effort and paint than transitioning from a dark wall to a very light one. Drastic color changes often necessitate an extra coat of primer and potentially an additional topcoat. This impacts your total gallons of paint needed and painting time.
4. Tools You Already Own
Do you have existing brushes, rollers, drop cloths, or an extension pole from previous projects? Utilizing what you already have can significantly reduce your upfront material costs. This is a quick way to lower your initial DIY painting investment. Repurposing existing tools is always a smart move.
5. Sales and Discounts
Timing your purchases around holiday sales or store promotions (e.g., Home Depot, Lowe’s) can yield substantial savings on paint and supplies. Sign up for loyalty programs or newsletters to be alerted to deals. Smart shopping is crucial for keeping your budget in check. Always look for ways to reduce your materials cost.
A Millennial’s Step-by-Step Guide to Painting Your Small Bedroom
Ready to get started? This practical guide simplifies the process, making your DIY painting project achievable and even enjoyable. Follow these steps for a smooth transformation of your small space.
Each stage is crucial for a professional-looking finish. We’ve broken it down into manageable tasks. This approach ensures a quality result and an efficient painting time.
1. Planning & Prep: The Foundation of Success
- Clear the Room: Move all furniture out of the room or to the center and cover it with drop cloths. Remove wall hangings, outlet covers, and switch plates.
- Clean the Walls: Use a mild detergent or TSP substitute to clean walls. Rinse thoroughly and allow to dry completely.
- Repair & Smooth: Fill any holes or cracks with spackle. Once dry, sand smooth. Use caulk for gaps around trim or windows.
- Tape Off: Apply painter’s tape along the edges of trim, baseboards, windows, and the ceiling. Press firmly to seal edges.
- Protect Floors: Lay down drop cloths to cover all flooring surfaces.
2. Prime Time: Don’t Skip This Step!
- Apply Primer: If changing color drastically, painting over new drywall, or a glossy surface, apply one coat of primer. Use a brush for edges and a roller for large areas.
- Allow Drying: Let the primer dry completely according to manufacturer instructions. This is crucial for optimal paint adhesion and achieving the desired paint finish.
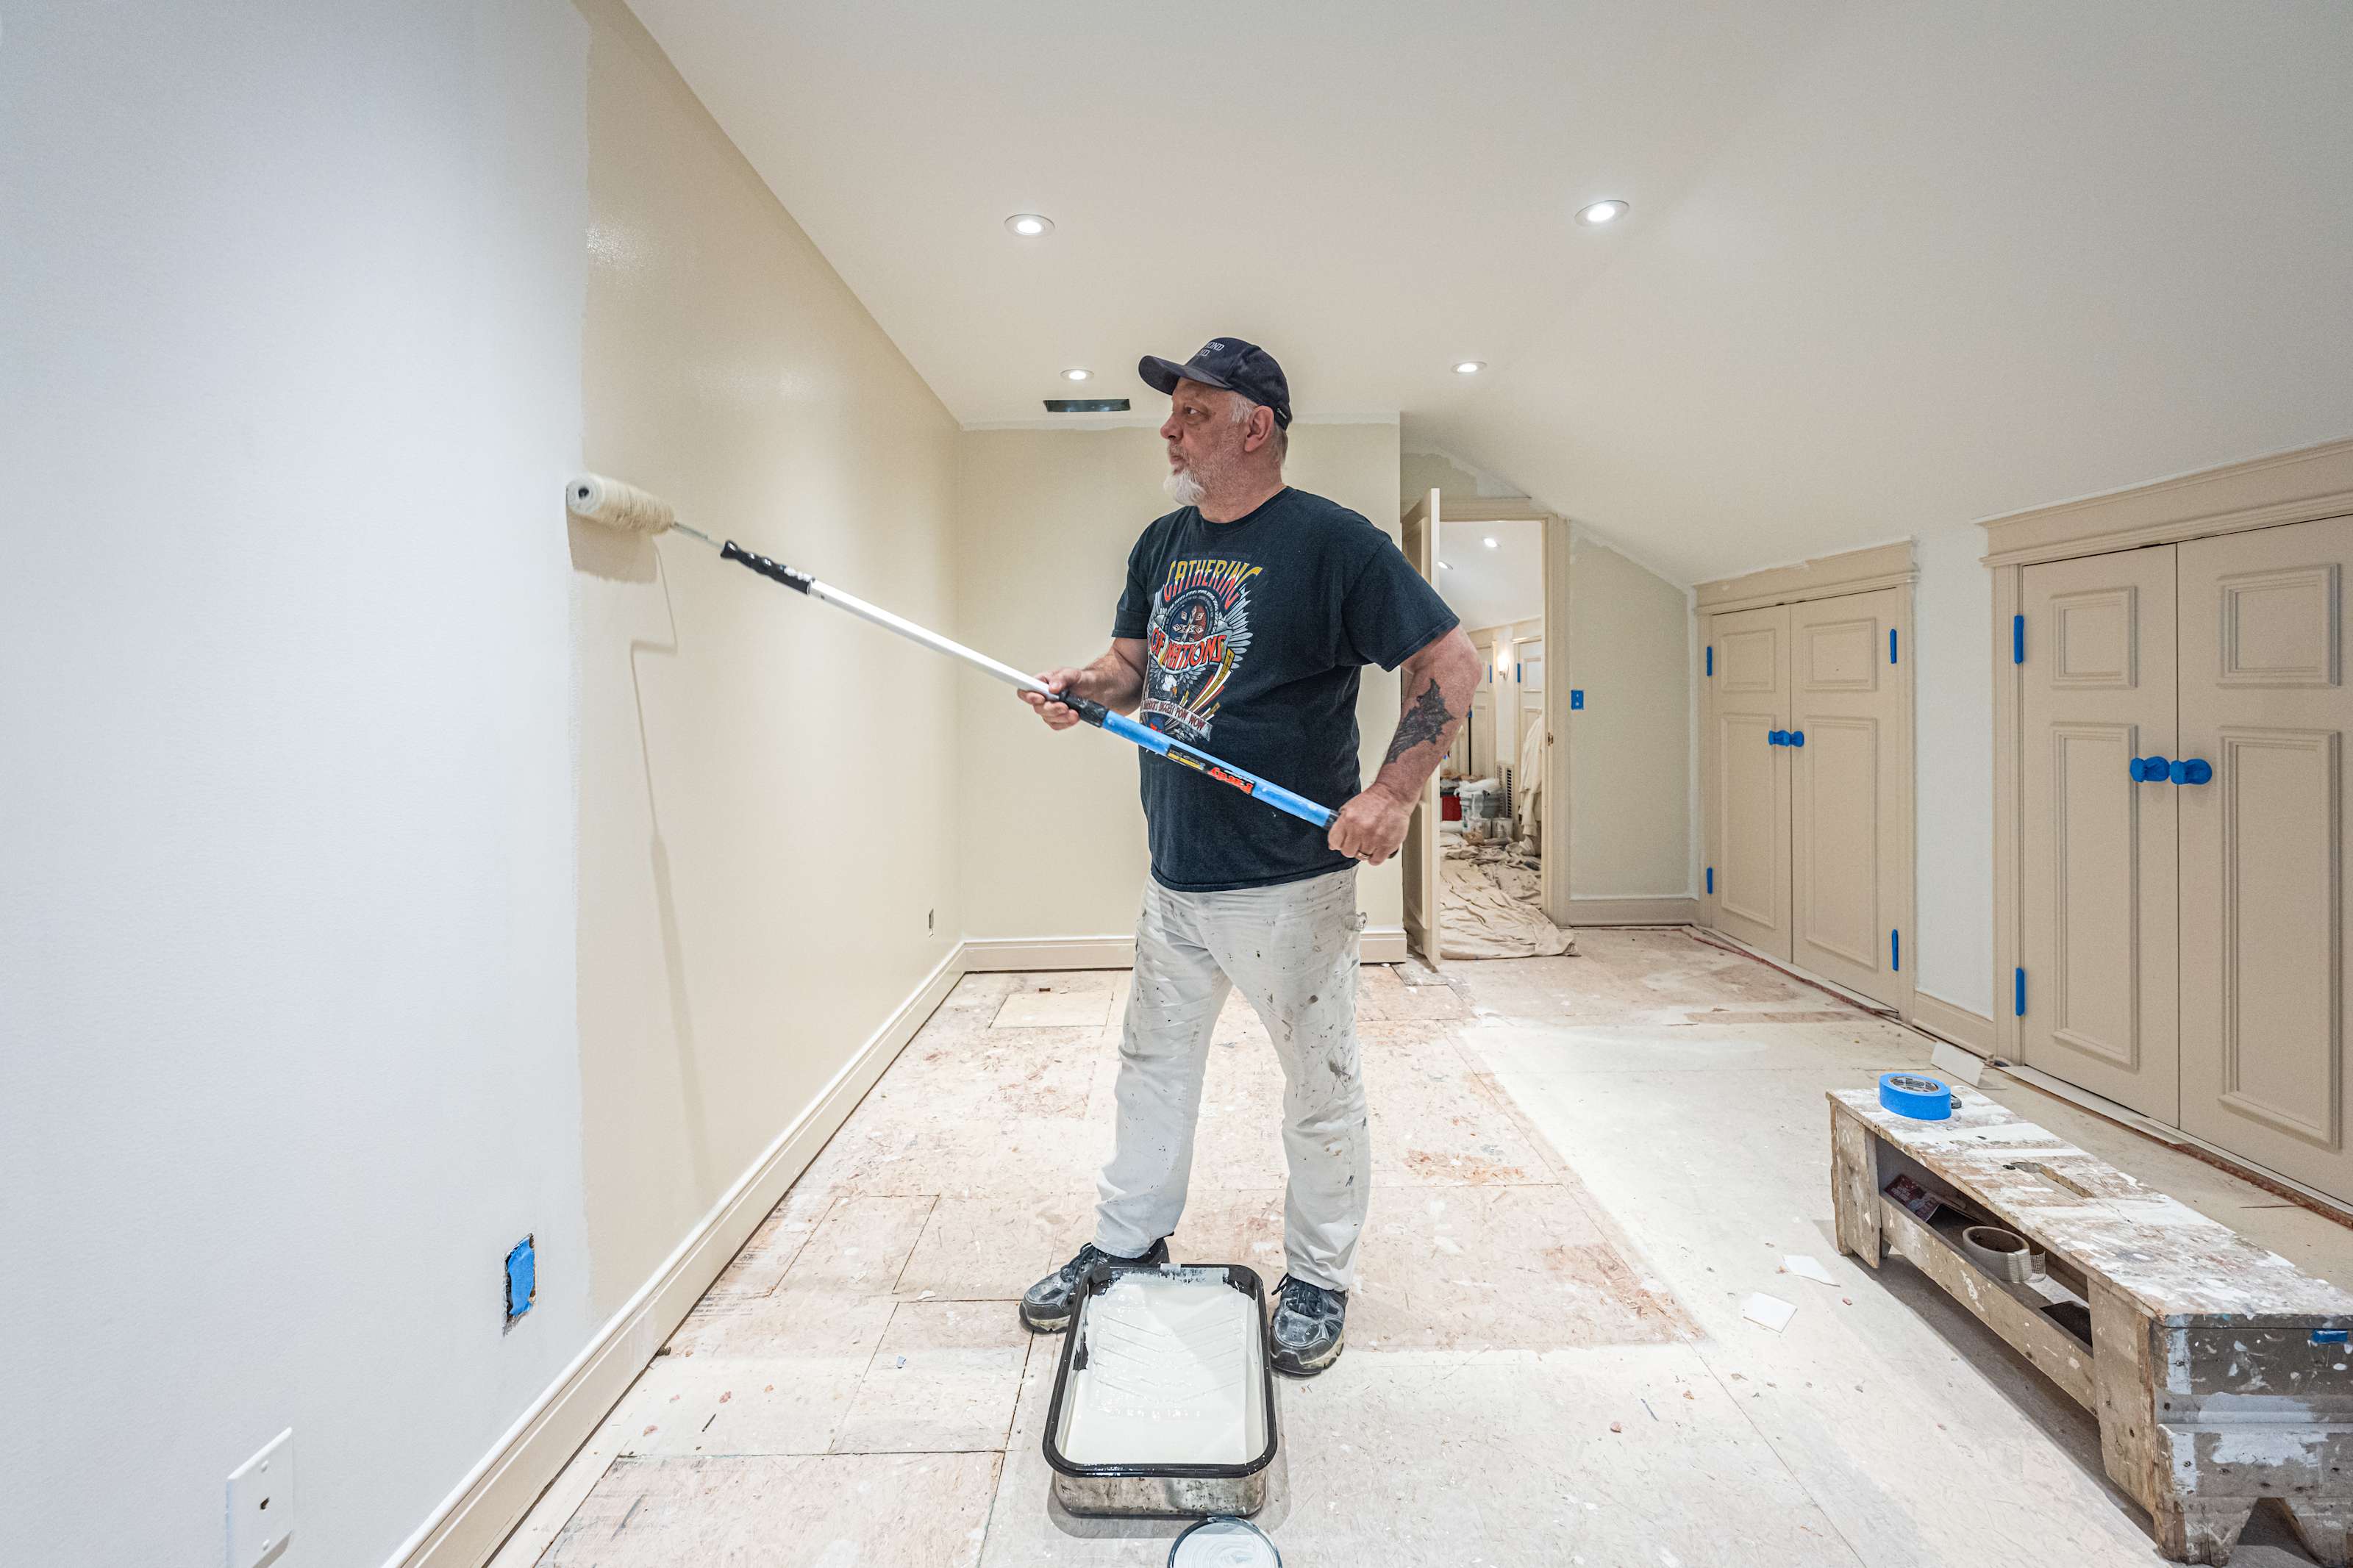
3. Painting: Bringing Your Vision to Life

Source: jane-athome.com
- Cut In: Using your angled brush, “cut in” along the edges where walls meet the ceiling, trim, and corners. Work in small sections.
- Roll the Walls: Pour paint into your tray. Load your roller, removing excess paint. Roll in W or M patterns, overlapping slightly to ensure even coverage.
- First Coat: Apply the first coat evenly. Don’t try to achieve full coverage in one go.
- Drying Time: Allow the first coat to dry fully (check paint can for recommended time, usually 2-4 hours). Good ventilation helps.
- Second Coat: Apply a second coat, following the same cutting-in and rolling technique. Most projects benefit from two coats for optimal depth and durability.
4. Finishing Touches & Cleanup
- Remove Tape: While the second coat is still slightly damp (but not wet), carefully pull off the painter’s tape at a 45-degree angle. This helps ensure crisp lines.
- Clean Tools: Clean brushes and rollers immediately with soap and water (for latex/acrylic paints). Store properly for future use.
- Ventilate: Keep windows open and a fan running for at least 24-48 hours to help dissipate paint fumes, especially if you chose paints with higher VOCs, though low VOC options are always better.
- Enjoy! Step back and admire your handiwork. Your newly painted small bedroom is ready for its reveal!
Smart Tips for Maximizing Savings and Success
Embarking on a DIY painting journey is exciting, but a few savvy tricks can make it even more rewarding. These tips are especially useful for a beginner painter looking to get professional results without the professional price tag. Optimize your project planning and save more.
From choosing the right products to efficient application, these insights will help you achieve a stunning finish. They contribute to a more enjoyable and cost-effective experience. Ultimately, these tips enhance your home improvement journey.
- Buy Quality Paint, Not Just Any Paint: As discussed, better quality paint often offers better coverage, durability, and a nicer finish, meaning fewer coats and less touch-ups in the long run. Brands like Sherwin-Williams and Benjamin Moore often have sales, making premium paints more accessible. Look for washable paint for easy maintenance.
- Measure Twice, Buy Once: Accurately calculate your room’s square footage to avoid buying too much or too little paint. Many paint brands have online calculators.
- Utilize Freebies & Discounts: Ask your paint store for free stir sticks. Watch for sales at Home Depot or Lowe’s, especially on primer and supplies.
- Test Paint Colors: Purchase small sample pots before committing to a full gallon. Paint swatches on different walls and observe them throughout the day. This helps you choose the perfect color choice and prevents costly mistakes.
- Proper Tool Care: Clean your brushes and rollers thoroughly after each use. Well-maintained tools last longer, saving you money on replacements.
- Ventilation is Key: Always ensure good airflow in your room while painting and drying. This improves air quality and speeds up drying time.
FAQ: Your Burning Questions About DIY Bedroom Painting Costs Answered
Q1: Is it really cheaper to paint a small bedroom myself?
A1: Absolutely! The primary expense when hiring a professional painter is their labor costs. By doing it yourself, you eliminate these, potentially saving hundreds of dollars. Our cost breakdown shows typical DIY savings ranging from $300 to over $1,000 for a small room. This makes DIY an excellent value proposition for your home improvement budget.
Q2: How much paint do I need for a 10×10 bedroom?
A2: For a standard 10×10 foot bedroom with 8-foot ceilings, you’ll typically need 1 gallon of primer (if required) and 1-2 gallons of interior paint for two coats. This can vary based on the existing wall color, the new color, and the paint’s coverage rate. Always factor in enough for a second coat and potential touch-ups.
Q3: Can I use leftover paint for touch-ups later?
A3: Yes! Properly sealed and stored paint can last for years. Ensure the lid is tightly sealed, store it upside down (to create a better seal) in a cool, dry place away from direct sunlight and extreme temperatures. This helps with long-term value and future maintenance. It’s great for fixing minor scuffs.
Q4: What’s the biggest mistake DIY painters make?
A4: Rushing the preparation phase. Skipping cleaning, patching, sanding, or taping properly can lead to a messy, uneven, and less durable finish. Dedicate ample time to prep work; it’s the foundation of a professional-looking result. Poor prep work often leads to having to redo parts of the job, increasing painting time.
Q5: Is it worth buying expensive paint for a small bedroom?
A5: Often, yes. While a higher initial materials cost, premium paints offer better coverage (fewer coats needed), superior durability (resists scuffs and marks), and a richer, more vibrant color choice. They also tend to have lower VOCs, contributing to better indoor air quality. For a small space, the price difference isn’t as dramatic as for a whole house, making it a worthwhile investment for a beautiful, lasting finish.
Final Thoughts: Your Freshly Painted Oasis Awaits!

Source: idealhome.co.uk
Embarking on a DIY painting project for your small bedroom in 2026 is an incredibly rewarding endeavor. We’ve explored every facet of How Much Does It Cost To Paint A Small Bedroom Myself In 2026? and armed you with the knowledge to create a detailed, realistic paint budget. From selecting the right primer to mastering rolling techniques, you’re now equipped to transform your space with confidence. You’ll not only save money but also gain immense satisfaction from enhancing your home’s aesthetic appeal with your own hands. So grab your brushes, choose your perfect shade, and get ready to enjoy your vibrant, newly painted sanctuary!